
Syning for børn #1: En mobilpose
My son wanted to learn to sew.We started out with the basics of operating a sewing machine, while make a little pouch for his mobile phone.
Hermed en lille vejledning til andre små sy-ivrige:
1. Vælg noget flot stof i din mors lager. Det skal være lidt tykt, men ikke noget, der fnulrer.
2. Læg din mobil på stoffet, og mål en firkant ud, der er dobbelt så bred som mobilen +2 cm og ca. 5 cm højere end mobilen.
3. Klip firkanten ud og zigzag kanten.
– Du holder i stoffet foran symaskinen, ikke bagved.
– Du skal ikke trække eller skubbe i stoffet. Du bruger kun hænderne til at styre, at stoffet kommer ligeud igennem symaskinen.
– Sy så langsomt, at du fuldstændigt kan styre at sy lige.
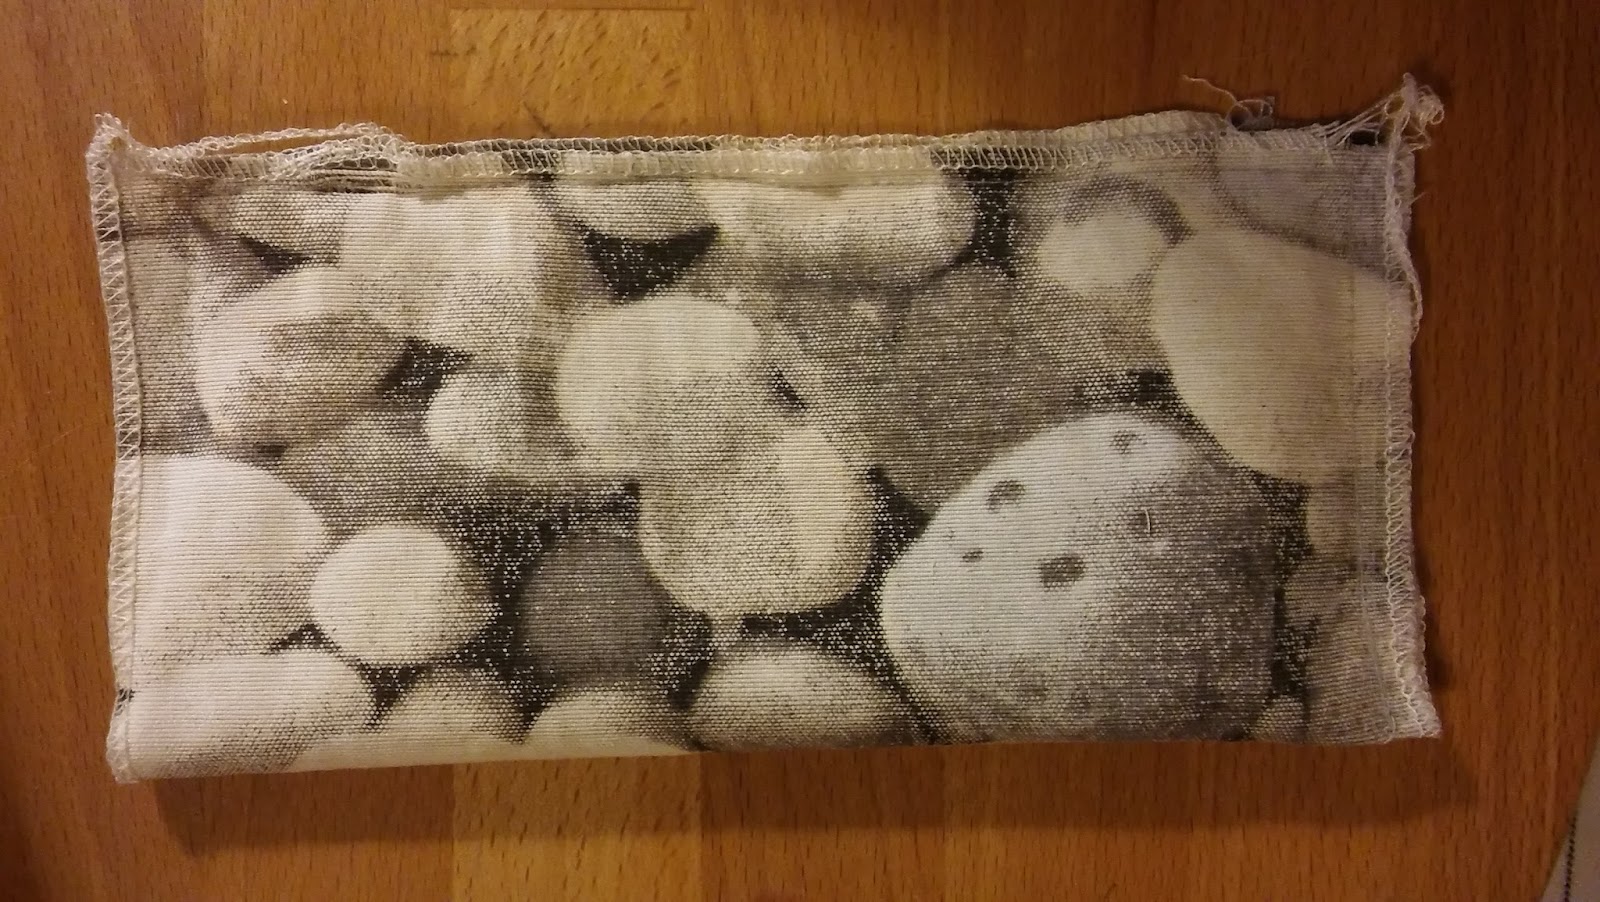
Sådan ser det ud, når man har syet hele vejen rundt:
A guide for other little sewing bees:
1. Pick some nice fabric in yours mom’s fabric stash. It should be a rather thick fabric. And something that doesn’t lint.
2- Put your mobile phone onto the fabric. Measure a square double the width of your mobile phone + 2 cm (1″). And 5 cm (2″) taller than the height of your mobile phone.
3. Cut out the square. Zigzag the edges.
– Keep your hands in front of the needle, not to the sides or in the back.
– Don’t push or pull the fabric. You only use your hands to guide the fabric.
– Sew slowly enough to be in full control of the sewing.
This is how it looks when you have sewed around the edges:

4. Læg stoffet dobbelt RET MOD RET (ret er den pæne side) og sy stoffet sammen i siden og i bunden.
– Når du skal vende i hjørnet, drejer du på den runde dims til højre på symaskinen, så nålen kommer helt ned i stoffet. Så løfter du trykfoden, drejer stoffet og sætter trykfoden ned igen.
– Når du er nået til enden af det, der skal sys, hæfter du ved at sy et par centimeter tilbage, frem, tilbage.
Fold the fabric with the RIGHT sides towards each other (the right side is the side where the fabric look the nicest) and sew along the side and the bottom.
– In the corner you use the round thing on the side of the sewing machine, so the needle goes down into the fabric. Leave it there, lift the presser foot, turn the fabric, and lower the presser foot again.
– When you reach the end of the sewing, you sew backwards and then forwards again to fasten off.

Sådan ser posen ud, når man har syet den sammen:
This is how the pouch looks when you have sewn it together:
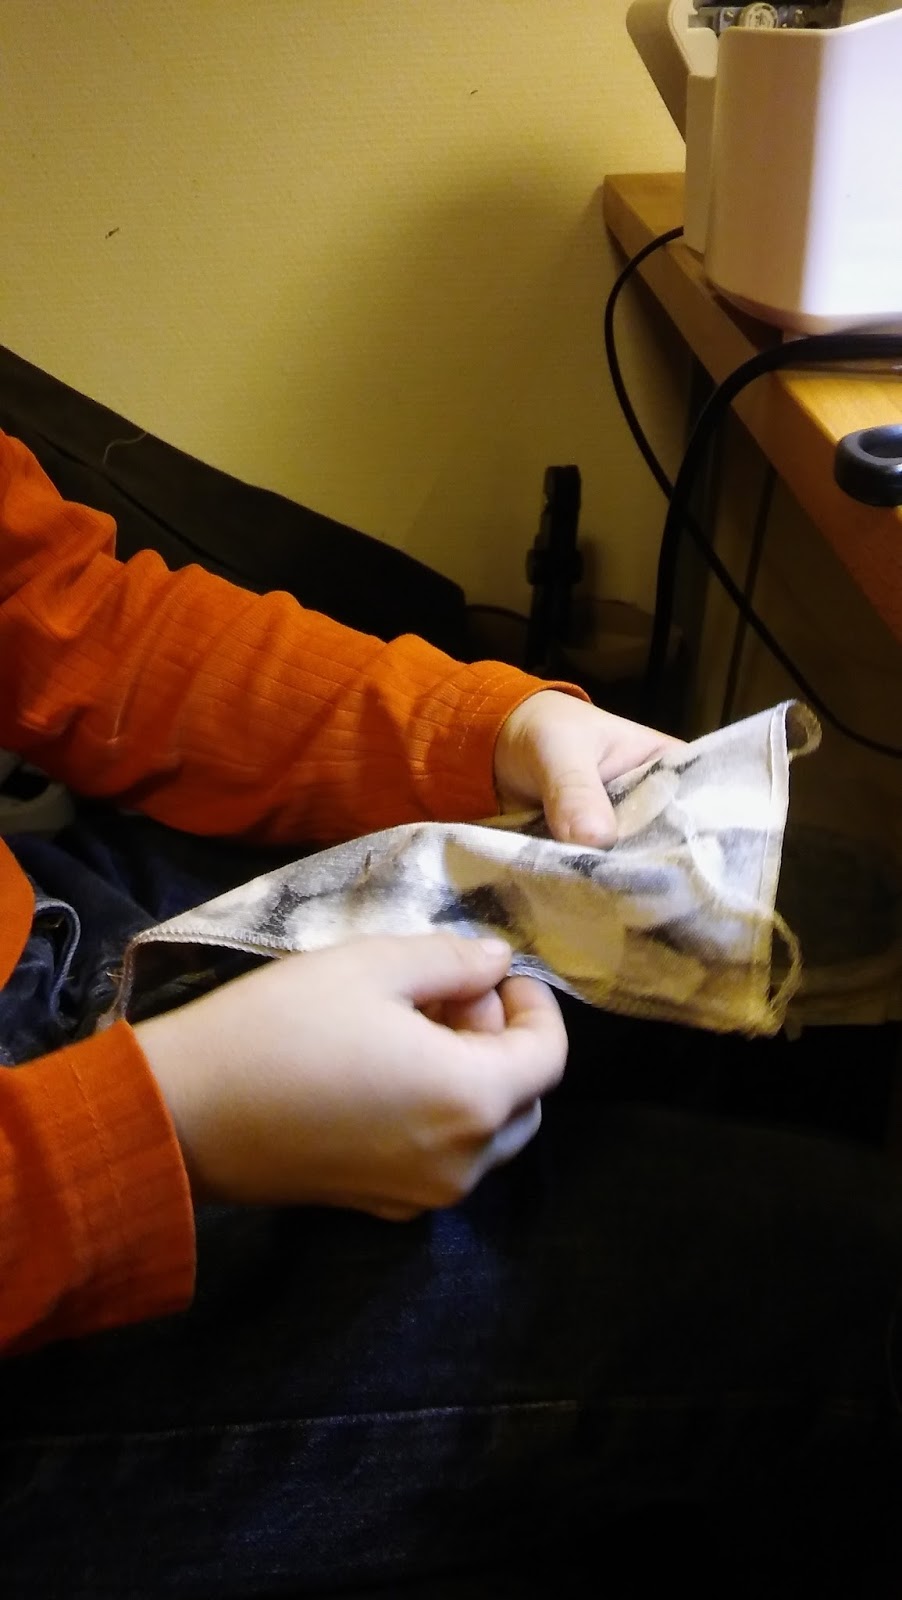
5. Klip en smule af de nederste hjørner. Vend posen om på retten. Tryk spidserne godt ud:
Cut a little fabric off diagonally at the corners. Turn the pouch to the right side. Push the corners so they are all turned.

6. Tag et stykke rund elastik, buk det, og sy det fast i toppen af posen. Mor hjalp med dette.
Take a piece of round elastic. Sew it to the top of the pouch. My mom helped me do this.

7. Til sidst syr du en knap på til at lukke med. Det var ret svært. Det er bedre at sy knappen på, inden man syr stoffet sammen.
Lastly you sew on a button for closing the pouch. It was rather difficult to sew the button on. It is better to sew the button on, before you sew the fabric together.
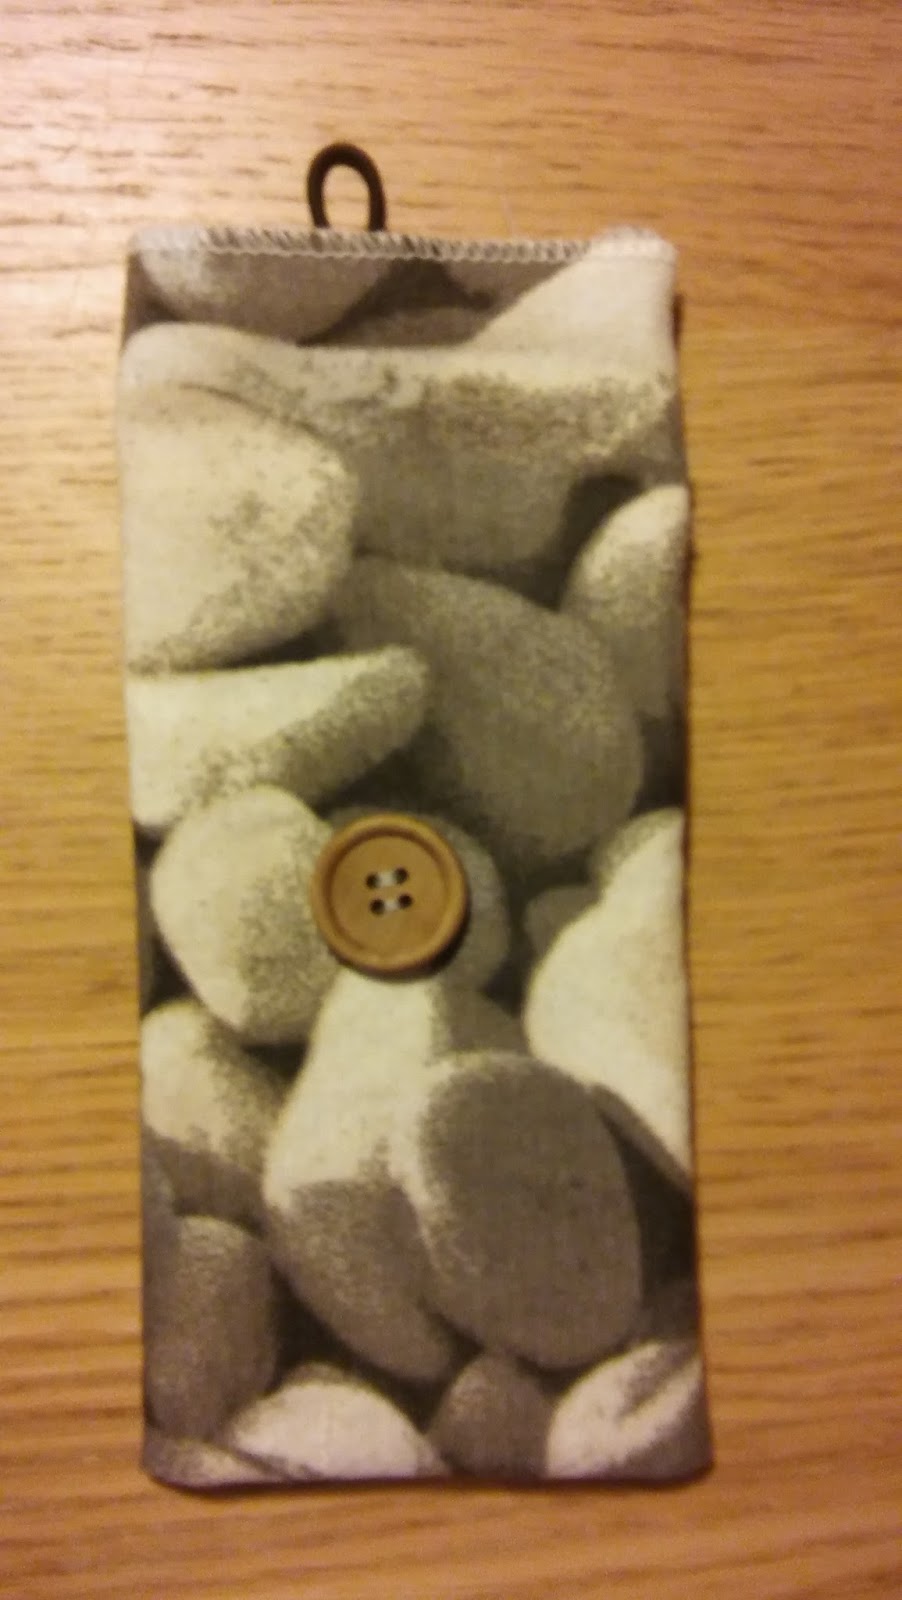
Sådan ser den færdige mobilpose ud:
The finished pouch:


Jeg er rigtig glad for den, og jeg har selv lavet den, min mor hjalp kun en lille smule.
Jeg synes, at det var ok nemt. Det tog lidt tid at lære at få stoffet til at køre lige, men nu kan jeg det, og jeg er rigtig god til det. Jeg er også god til at sy sammen, til at hæfte og til at vende i hjørner.
I am very satisfied with my mobile pouch. I made it myself, mom only helped a little bit.
I think it was ok easy. It took quite some time to learn how to make the fabric go straight, but now I am good at it. I am also good at sewing something together, at fastening of and turning at the corners.
Mvh. R (med mor som sekretær)
Yours R (with my mon as secretary)

- Saga
- Havregrynskugler! 9 December 2022
- Kjole bare en anelse større - Dress just a tad larger 23 November 2020
- Modified Warm And Cosy Turban 2 October 2020
- Slåomkjole - plus slåom og minus ærmer og krave - Improved wrap dress 27 August 2020
- Top fra bindebånd til slåom - Top with short ties to wrap top 20 May 2020